在使用 Android Studio 2022.2.1 完成一个点击按钮弹出 Toasr 提醒的实践记录,本文中的路径均为在Project项目结构下的路径
项目配置
.\app\build.gradle
plugins {
    id 'com.android.application'
    id 'org.jetbrains.kotlin.android'
}

android {
    namespace 'com.example.test'
    compileSdk 33

    defaultConfig {
        applicationId "com.example.test"
        minSdk 24
        targetSdk 33
        versionCode 1
        versionName "1.0"

        testInstrumentationRunner "androidx.test.runner.AndroidJUnitRunner"
    }

    buildTypes {
        release {
            minifyEnabled false
            proguardFiles getDefaultProguardFile('proguard-android-optimize.txt'), 'proguard-rules.pro'
        }
    }
    compileOptions {
        sourceCompatibility JavaVersion.VERSION_1_8
        targetCompatibility JavaVersion.VERSION_1_8
    }
    kotlinOptions {
        jvmTarget = '1.8'
    }
}

dependencies {

    implementation 'androidx.core:core-ktx:1.8.0'
    implementation 'androidx.appcompat:appcompat:1.4.1'
    implementation 'com.google.android.material:material:1.5.0'
    testImplementation 'junit:junit:4.13.2'
    androidTestImplementation 'androidx.test.ext:junit:1.1.3'
    androidTestImplementation 'androidx.test.espresso:espresso-core:3.4.0'
}
.\app\src\main\AndroidManifest.xml
<?xml version="1.0" encoding="utf-8"?>
<manifest xmlns:android="http://schemas.android.com/apk/res/android"
    xmlns:tools="http://schemas.android.com/tools">

    <application
        android:allowBackup="true"
        android:dataExtractionRules="@xml/data_extraction_rules"
        android:fullBackupContent="@xml/backup_rules"
        android:icon="@mipmap/ic_launcher"
        android:label="@string/app_name"
        android:roundIcon="@mipmap/ic_launcher_round"
        android:supportsRtl="true"
        android:theme="@style/Theme.Test"
        tools:targetApi="31">
        <activity
            android:name=".MainActivity"
            android:exported="true"
            >
            <intent-filter>
                <action android:name="android.intent.action.MAIN" />
                <category android:name="android.intent.category.LAUNCHER" />
            </intent-filter>
        </activity>
    </application>

</manifest>使用findViewById()
首先是一个含有一个 button 的 activity ,路径为 .\app\src\main\java\com\example\test\MainActivity.kt,先使用最基础的findViewById()方式获取 button 对象,并添加点击时间监听方法:
package com.example.test

import androidx.appcompat.app.AppCompatActivity
import android.os.Bundle
import android.widget.Button
import android.widget.Toast

class MainActivity : AppCompatActivity() {
    override fun onCreate(savedInstanceState: Bundle?) {
        super.onCreate(savedInstanceState)
        // 根据layout布局文件设置当前视图
        setContentView(R.layout.main_layout)
        // 通过在layout文件中给button设置的id获取button对象
        val button1: Button = findViewById(R.id.button1)
        // 添加点击事件监听器
        button1.setOnClickListener {
            Toast.makeText(this, "Button 1 have been clicked", Toast.LENGTH_SHORT).show()
        }
    }
}
以及其对应的 layout 文件,路径为.\app\src\main\res\layout\main_layout.xml
<?xml version="1.0" encoding="utf-8"?>
<LinearLayout xmlns:android="http://schemas.android.com/apk/res/android"
    android:orientation="vertical"
    android:layout_width="match_parent"
    android:layout_height="match_parent">
    <Button
        android:id="@+id/button1"
        android:layout_width="match_parent"
        android:layout_height="wrap_content"
        android:text="Button 1"
    />

</LinearLayout>
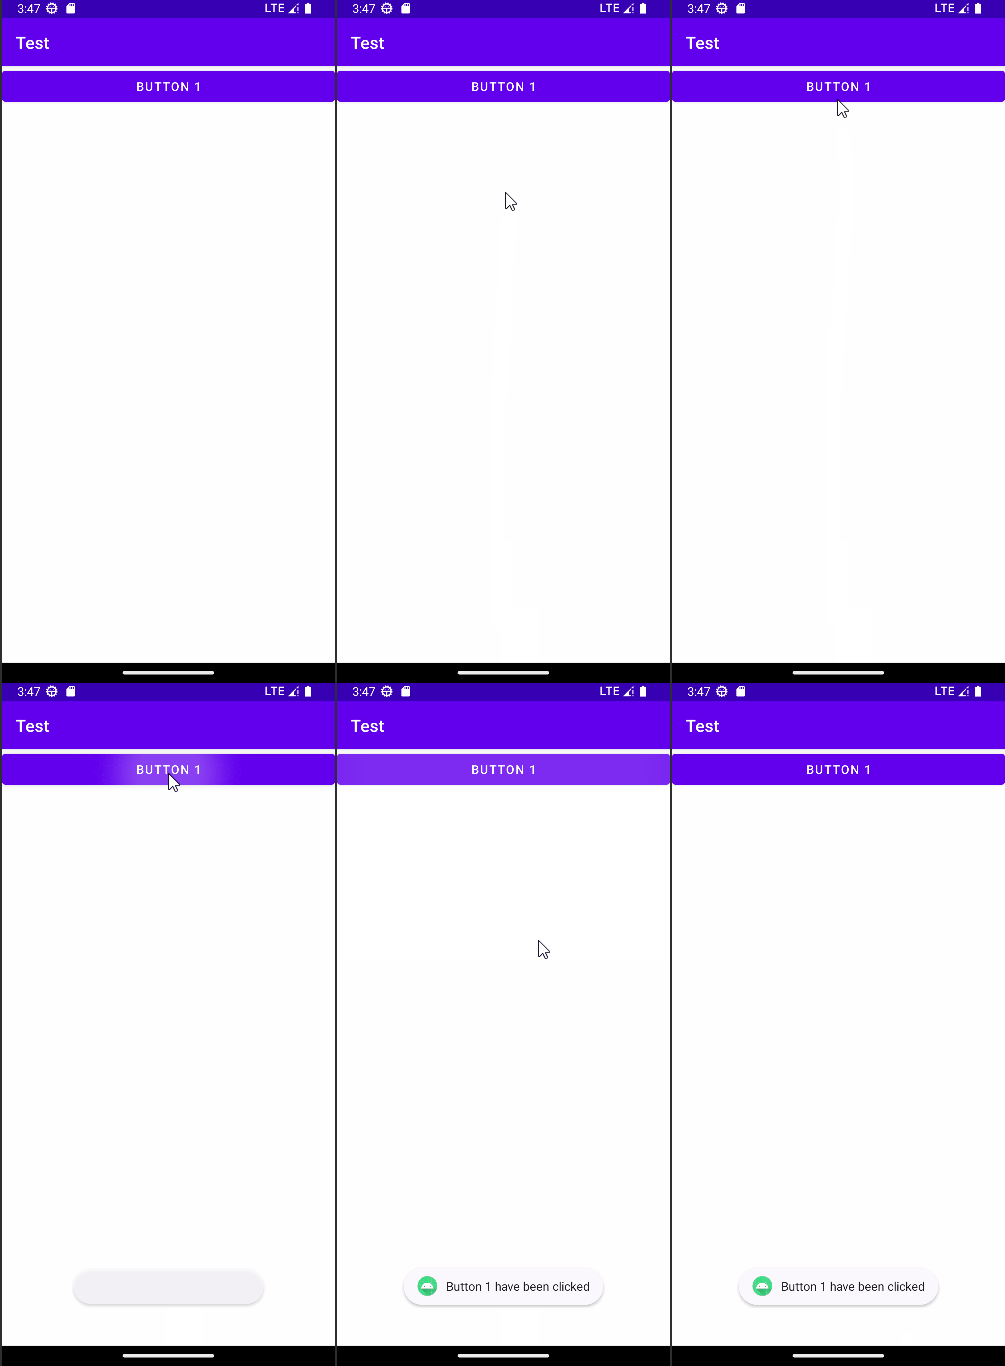
此时运行效果正常:

使用kotlin-android-extensions插件
尝试配置kotlin-android-extensions,修改\app\build.gradle文件的plugin部分,引入kotlin-android-extensions插件,具体修改如下:
plugins {
    id 'com.android.application'
    id 'org.jetbrains.kotlin.android'
    id 'kotlin-android-extensions'
}
...
此时点击 Sync now,产生如下报错:
The 'kotlin-android-extensions' Gradle plugin is no longer supported. Please use this migration guide (https://goo.gle/kotlin-android-extensions-deprecation) to start working with View Binding (https://developer.android.com/topic/libraries/view-binding) and the 'kotlin-parcelize' plugin.发现在新版本的 AndroidStudio 中kotlin-android-extensions已不再支持,推荐使用View Binding进行绑定。放弃使用该方法,在plugins部分中删除对 kotlin-android-extensions的引用。
使用 View Binding
配置View Binding,修改\app\build.gradle文件,在android{}中新增一个buildFeatures{},将viewBinding设为ture。具体修改如下:
...
android {
    namespace 'com.example.test'
    compileSdk 33

    buildFeatures {
        viewBinding true
    }

    defaultConfig {
    ...
}
...修改完build.gradle不要忘了点一下Sync now。之后修改 activity 文件MainActivity.kt,将viewBinding类引入,并通过类获得按钮的实例。在开启 View Binding 之后系统会为每个 XML 布局文件生成一个绑定类,类名是将 XML 文件的名称转换为驼峰式命名后在末尾添加“Binding”得到的,类中包含根页面与各种控件的引用。这里的main_layout.xml布局会生成对应的MainLayoutBinding类。具体修改如下:
package com.example.test

import androidx.appcompat.app.AppCompatActivity
import android.os.Bundle
import android.widget.Toast
// 需要导入对应的绑定类,一般IDE自己会生成
import com.example.test.databinding.MainLayoutBinding

class MainActivity : AppCompatActivity() {
    // 将绑定类实例作为Activity类的成员变量,方便后续调用
    private lateinit var binding : MainLayoutBinding

    override fun onCreate(savedInstanceState: Bundle?) {
        super.onCreate(savedInstanceState)
        // 获取绑定类的实体类进行实例化
        binding = MainLayoutBinding.inflate(layoutInflater)
        // 获取绑定类中的根视图 (Root View)
        setContentView(binding.root)
        // 对绑定类中的button添加点击事件监听
        binding.button1.setOnClickListener{
            Toast.makeText(this, "button 1 have been clicked - ViewBinding", Toast.LENGTH_SHORT).show()
        }
    }
}
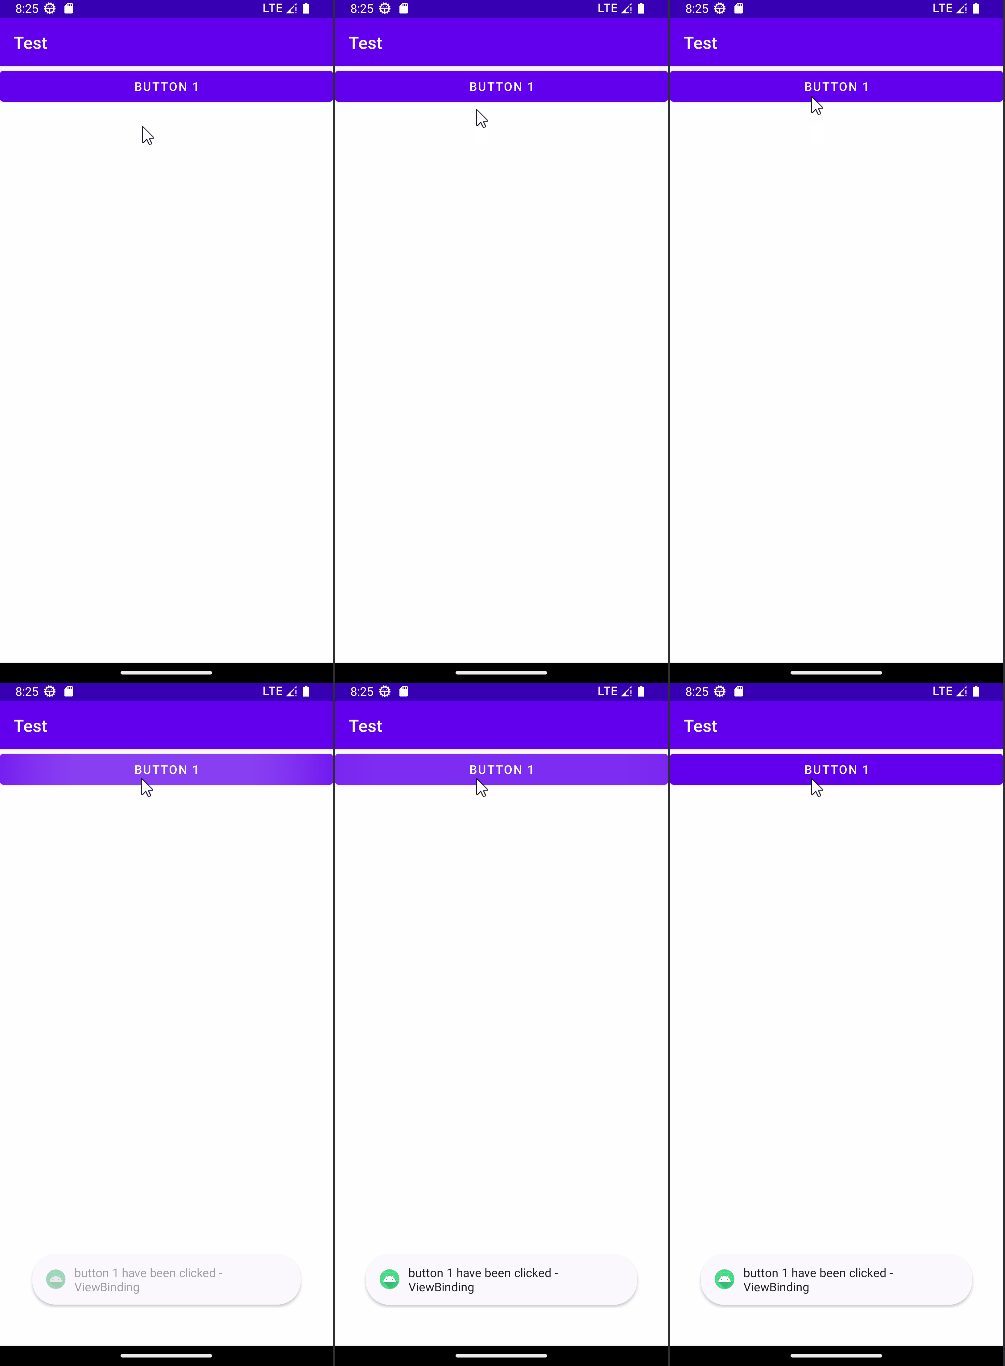
此时运行正常:

遇到的问题
问题描述
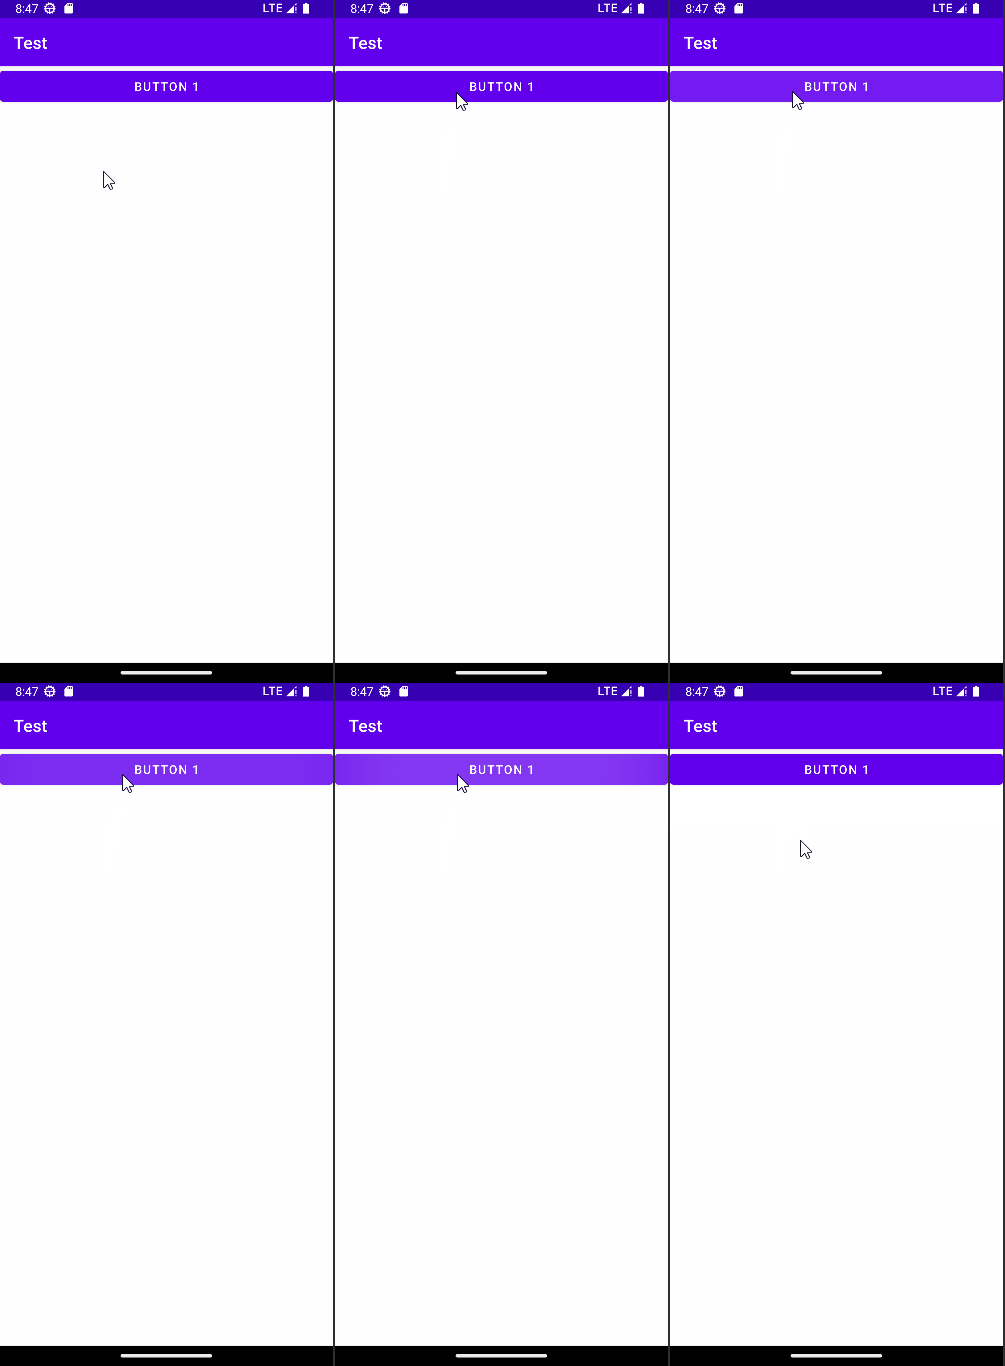
在使用ViewBinding的方式进行改变,如果不修改 setContentView(R.layout.main_layout) 为 setContentView(binding.root) 虽然编译正常且按钮可以点击,但不能正常弹出 Toast 提示:
package com.example.test

import androidx.appcompat.app.AppCompatActivity
import android.os.Bundle
import android.widget.Button
import android.widget.Toast
import com.example.test.databinding.MainLayoutBinding

class MainActivity : AppCompatActivity() {
    private lateinit var binding : MainLayoutBinding

    override fun onCreate(savedInstanceState: Bundle?) {
        super.onCreate(savedInstanceState)
        binding = MainLayoutBinding.inflate(layoutInflater)

        // 获取绑定类中的根视图 (Root View),功能正常
        // setContentView(binding.root)
        // 根据layout文件创建视图,功能失效
        setContentView(R.layout.main_layout)

        // 使用findViewById方法获取控件并设置
        // findViewById<Button>(R.id.button1).setOnClickListener{
        //     Toast.makeText(this, "button 1 have been clicked - findViewById", Toast.LENGTH_SHORT).show()
        // }
        // 使用绑定类实例 binding.获取控件并设置
        binding.button1.setOnClickListener{
           Toast.makeText(this, "button 1 have been clicked - ViewBinding", Toast.LENGTH_SHORT).show()
        }
    }
}
演示如下:

与 使用了setContentView(R.layout.main_layout)后不能使用binding获取控件 不同的是:使用了setContentView(binding.root)后 仍可使用findViewById(R.id.button1) 获取控件,功能正常显示(需要复现的话调整一下上方代码的注释)。总结一下功能关系:
| setContentView() 参数 | binding.button1 获取控件 | findViewById(R.id.button1) 获取控件 |
|---|---|---|
| R.layout.main_layout | 正常 | 正常 |
| binding.root | 失效 | 正常 |
原因解析
我们可以在由ViewBinding自动生成的MainLayoutBinding.java中找到具体的实现,该文件的路径为.\app\build\generated\data_binding_base_class_source_out\debug\out\com\example\test\databinding\MainLayoutBinding.java:
// Generated by view binder compiler. Do not edit!
package com.example.test.databinding;

import android.view.LayoutInflater;
import android.view.View;
import android.view.ViewGroup;
import android.widget.Button;
import android.widget.LinearLayout;
import androidx.annotation.NonNull;
import androidx.annotation.Nullable;
import androidx.viewbinding.ViewBinding;
import androidx.viewbinding.ViewBindings;
import com.example.test.R;
import java.lang.NullPointerException;
import java.lang.Override;
import java.lang.String;

public final class MainLayoutBinding implements ViewBinding {
  @NonNull
  private final LinearLayout rootView;

  @NonNull
  public final Button button1;

  private MainLayoutBinding(@NonNull LinearLayout rootView, @NonNull Button button1) {
    this.rootView = rootView;
    this.button1 = button1;
  }

  @Override
  @NonNull
  public LinearLayout getRoot() {
    return rootView;
  }

  @NonNull
  public static MainLayoutBinding inflate(@NonNull LayoutInflater inflater) {
    return inflate(inflater, null, false);
  }

  @NonNull
  public static MainLayoutBinding inflate(@NonNull LayoutInflater inflater,
      @Nullable ViewGroup parent, boolean attachToParent) {
    View root = inflater.inflate(R.layout.main_layout, parent, false);
    if (attachToParent) {
      parent.addView(root);
    }
    return bind(root);
  }

  @NonNull
  public static MainLayoutBinding bind(@NonNull View rootView) {
    // The body of this method is generated in a way you would not otherwise write.
    // This is done to optimize the compiled bytecode for size and performance.
    int id;
    missingId: {
      id = R.id.button1;
      Button button1 = ViewBindings.findChildViewById(rootView, id);
      if (button1 == null) {
        break missingId;
      }

      return new MainLayoutBinding((LinearLayout) rootView, button1);
    }
    String missingId = rootView.getResources().getResourceName(id);
    throw new NullPointerException("Missing required view with ID: ".concat(missingId));
  }
}我们根据这个代码来分析一下binding的实例化过程:
- 在
MainActivity.kt中实例化MainLayoutBinding使用的是MainLayoutBinding类中的静态方法inflate(layoutInflater)。 - 这个方法会接着调用
inflater.inflate(R.layout.main_layout, null, false),inflate()返回的是根据UML描述创建的新视图(View) 。该语句在这里的意义是:根据main_layout.xml生成一个根视图root,也就是说在这个root中有一个button1的子视图(或者说控件),并且root视图没有父视图。 - 接下来调用
MainLayoutBinding类中的静态方法bind(root)。在bind函数中同样会使用R.id.button1获取button1的内部编号值。 - 再调用
ViewBindings.findChildViewById()并获取在root中的button1的视图实例的引用, - 调用构造函数生成一个
MainLayoutBinding类的对象并返回,返回的实例中成员变量button1是成员变量root的一个子视图的引用。
之后是通过setContentView()来将一个View设置为当前显示的视图。之后的findViewById会在当前显示的视图中进行查找。问题就在这里:
- 当使用
setContentView(binding.root)时,会将binding.root作为当前视图,此时binding.button1也是在当前视图里的,所以通过binding.button1或者findViewById<Button>(R.id.button1)找到的都是作为binding.root的子视图的那个button1,所以设置后都可以正常显示 Toast 消息。 - 当使用
setContentView(R.layout.main_layout)时,会根据main_layout.xml创建一个新的视图,并把这个新视图作为当前视图。需要注意的是这个新创建的视图与刚才创建的bing.root完全不相关,他们分别是两个完全独立的对象。所以在之后设置findViewById<Button>(R.id.button1)仍能正常显示消息。但通过binding.button1设置时,由于binding.button1所属的父页面binding.root并不是当前视图(换句话说binding.button1和findViewById<Button>(R.id.button1)指向的是不同的对象),所以虽然进行了设置,但是仍然在当前视图并不显示。
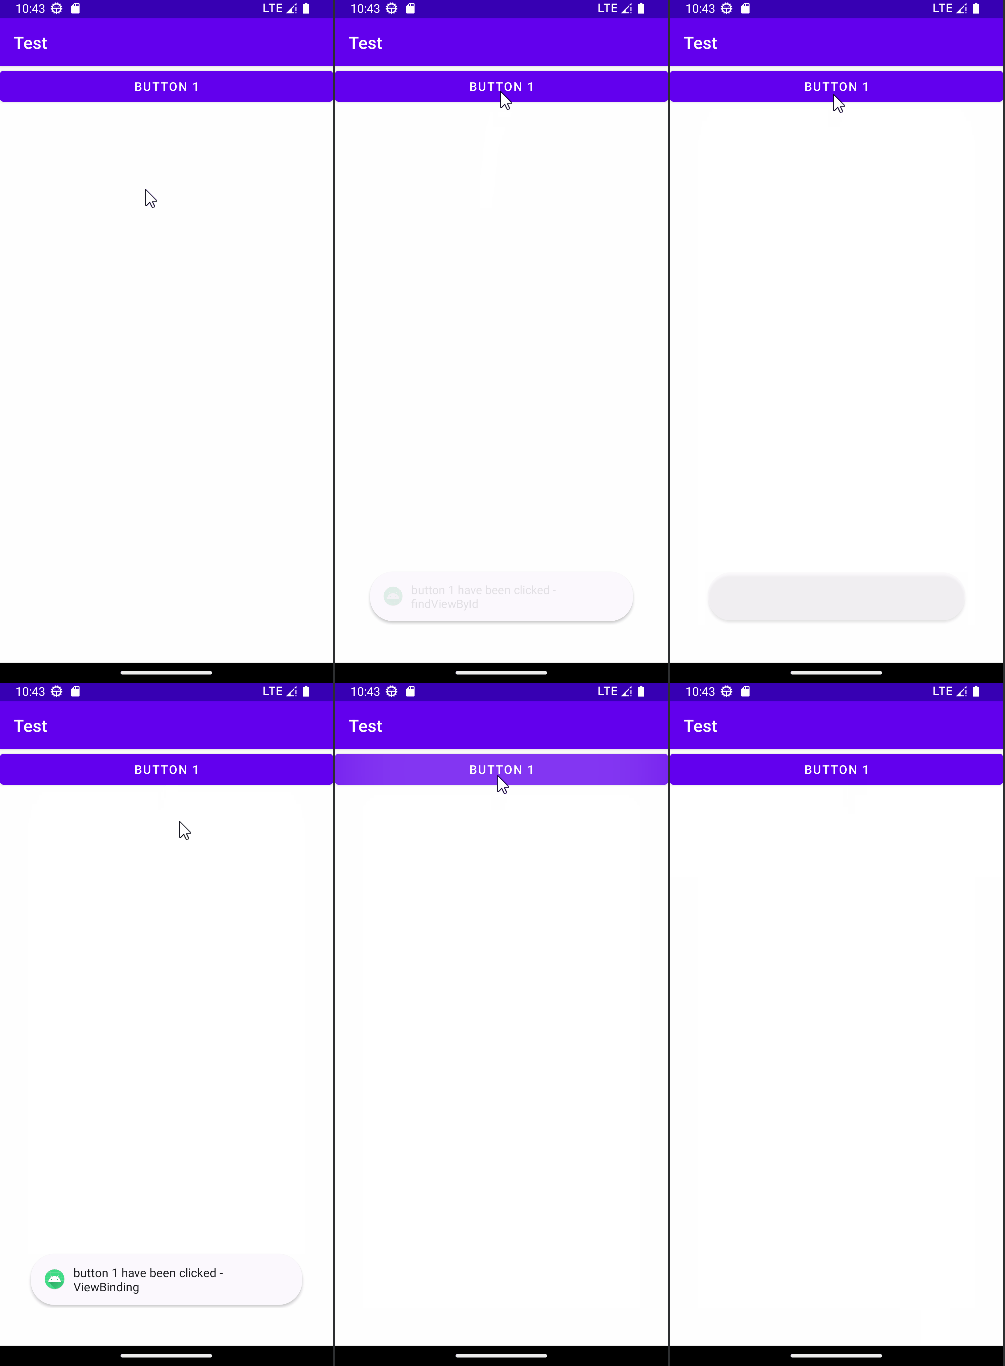
搞清楚原因之后可以验证一下,如果把代码修改成这个样子,连续点击3次 Button 1,运行的结果会是什么呢:
package com.example.test

import androidx.appcompat.app.AppCompatActivity
import android.os.Bundle
import android.widget.Button
import android.widget.Toast
import com.example.test.databinding.MainLayoutBinding

class MainActivity : AppCompatActivity() {
    private lateinit var binding : MainLayoutBinding

    override fun onCreate(savedInstanceState: Bundle?) {
        super.onCreate(savedInstanceState)
        binding = MainLayoutBinding.inflate(layoutInflater)
        // 根据layout文件创建视图
        setContentView(R.layout.main_layout)

        // 使用findViewById方法获取控件并设置
        findViewById<Button>(R.id.button1).setOnClickListener{
            Toast.makeText(this, "button 1 have been clicked - findViewById", Toast.LENGTH_SHORT).show()
            // 切换当前视图到 binding.root对应的视图
            setContentView(binding.root)
        }
        // 使用绑定类实例 binding.获取控件并设置
        binding.button1.setOnClickListener{
            Toast.makeText(this, "button 1 have been clicked - ViewBinding", Toast.LENGTH_SHORT).show()
            // 再创建一个新的视图并切换
            setContentView(R.layout.main_layout)
        }
    }
}是第一次点击显示button 1 have been clicked - findViewById,第二次点击显示button 1 have been clicked - ViewBinding,第三次点击不显示。

原因很简单,先看代码:创建binding时产生了一个button1先叫它A,在第一次使用setContentView(R.layout.main_layout)后又创建了一个button1先叫它B,此时B是在当前视图里的,也就是说findViewById<Button>(R.id.button1)获得到的是B。然后给B设置弹窗,同时设置点击B之后将binding.root作为当前视图。之后设置点击A的消息提示,并设置点击A后使用setContentView(R.layout.main_layout)再创建一个全新的视图,这个视图又有一个新的Button1先叫它C。
在运行的时候,第一次点击点击的是B,第二次点击的是A,第三次点击的是C,由于没有给C设置点击后的动作,所以在之后一直点击的都是C了,而且没有弹窗。问题彻底解决。